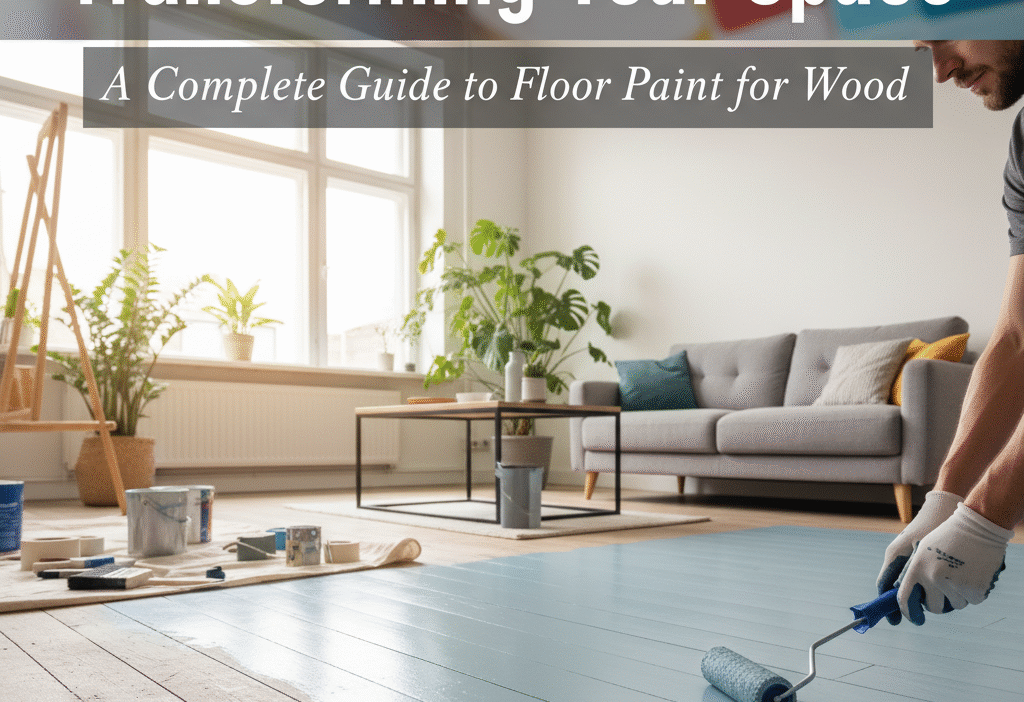
When it comes to giving your home a fresh new look, most people think of painting walls or updating furniture — but what about your floors? Whether you’ve got tired wooden floorboards or dated timber flooring, a fresh coat of floor paint for wood can completely transform your space. It’s one of the simplest ways to breathe new life into your home without the cost or hassle of replacing your flooring.
Why Paint Wooden Floors?
Painting wooden flooring has become a popular choice among homeowners who want a stylish and durable finish that stands up to daily life. Not only does it hide imperfections and marks, but it also allows you to customise your space with colour — from crisp white floorboards in a modern living room to deep grey tones for an industrial touch.
A good Floor Paint for Wood doesn’t just change the look of your home; it protects the surface too. With the right product, you can seal and strengthen your timber against scratches, moisture, and wear from foot traffic — ideal for busy family homes.
Choosing the Right Floor Paint for Wood
Not all paints are created equal, and when you’re dealing with floors, durability is key. The best Floor Paint for Wood is specifically designed to bond with timber, forming a tough, long-lasting surface that won’t flake or peel under pressure.
Here are a few tips when choosing your paint:
- Opt for hard-wearing formulas: Look for paints labelled as suitable for wood floors, decking, or interior wooden surfaces.
- Check for a non-slip finish: Especially important in kitchens or hallways.
- Consider your colour and sheen: Gloss paints are easy to clean, while matte finishes give a softer, more rustic feel.
- Think about room use: High-traffic areas like hallways or lounges need extra-durable coatings, while bedrooms can handle lighter finishes.
Preparing Your Wooden Floor for Painting
Proper preparation is what separates a quick fix from a lasting transformation. Before painting wooden flooring, follow these simple steps:
- Clean thoroughly: Remove dust, dirt, and any grease with a suitable cleaner.
- Sand the surface: This helps the paint adhere better. A light sanding is usually enough for previously painted floors.
- Repair any damage: Fill cracks or holes with wood filler and let it dry completely.
- Prime the surface: Depending on the wood type and condition, use a primer that’s compatible with your chosen floor paint.
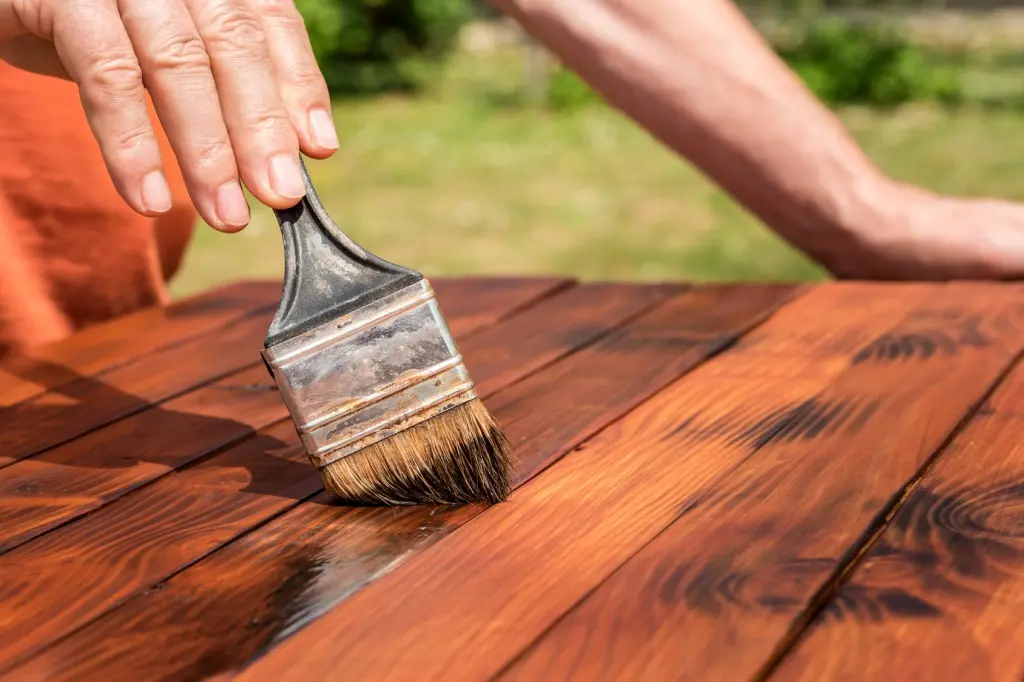
- Apply thin coats: Two to three thin coats give a smooth, even finish. Allow adequate drying time between coats for best results.
This extra bit of preparation ensures your floor paint for wood lasts longer and looks professionally done.
Creative Ideas for Painted Wooden Floors
Painting doesn’t have to mean plain. Here are a few creative ways to use Floor Paint for Wood:
- Add character with stencils – Create borders or geometric patterns for a bespoke finish.
- Try contrasting colours – A darker edge with a lighter centre can make small rooms feel bigger.
- Go minimalist – Crisp white or light grey tones brighten up spaces and work with almost any décor.
- Experiment with finishes – Combine matte and gloss paints for a subtle texture contrast.
These simple touches can turn ordinary wooden floors into a standout feature of your home.
Final Thoughts
Using Floor Paint for Wood is one of the most cost-effective and creative ways to transform your home. With the right preparation and product choice, you can achieve a stunning finish that’s both beautiful and hard-wearing.
If you’re ready to start painting wooden flooring, you’ll find everything you need — from durable floor paints to quality preparation materials — at Trade Supplies UK. Explore trusted brands and professional-grade supplies to bring your flooring vision to life.